You can use Data Virtualization to create a virtual table to segment or combine data from one or more tables. Data Virtualization connects multiple data sources into a single self-balancing collection of data sources or databases. Read about the Data Virtualization tool, then watch a video and take a tutorial that’s suitable for users with some knowledge of virtualizing data, but does not require coding.
- Required service
- Data Virtualization
- Optional services
- watsonx.ai Studio
- IBM Knowledge Catalog
Your basic workflow includes these tasks:
- Provision the service and create your service credentials.
- Create databases in multiple data sources and collect database details and credentials.
- Add connections to your data sources.
- Create virtual objects by combining data from all your data sources.
- Manage access to your virtual objects.
- Add vitualized data to your catalogs and projects.
- Monitor your service instance with IBM Db2 Data Management Console.
Read about Data Virtualization
With the Data Virtualization service, you can connect to multiple data sources, create and govern virtual assets, and consume the virtualized data.
- Connect: Start by connecting to data sources. You can connect to multiple data sources. For more information, see Connecting to data sources in Data Virtualization and Supported data sources in Data Virtualization.
- Join, create, and govern: Then, create virtual tables, group tables by schema, associate data with projects, and govern your virtual assets. For more information, see Creating virtualized objects and Governing virtual data in Data Virtualization.
- Consume: Finally, consume virtual tables in projects, data catalogs, and other applications. For more information, see Analyzing data and building models.
Watch a video about Data Virtualization
 Watch this video to see how to virtualize data to a project or catalog using the Data Virtualization service.
This video provides a visual method to learn the concepts and tasks in this documentation.
Try a tutorial to virtualize data
In this tutorial, you will complete these tasks:
- Task 1: Open a project.
- Task 2: Provision the required services.
- Task 3: Add a connection to the Db2 Warehouse data source.
- Task 4: Add tables to your virtualized data.
- Task 5: Publish virtualized data to a catalog or project.
This tutorial will take approximately 30 minutes to complete.
Tips for completing this tutorial
Here are some tips for successfully completing this tutorial.
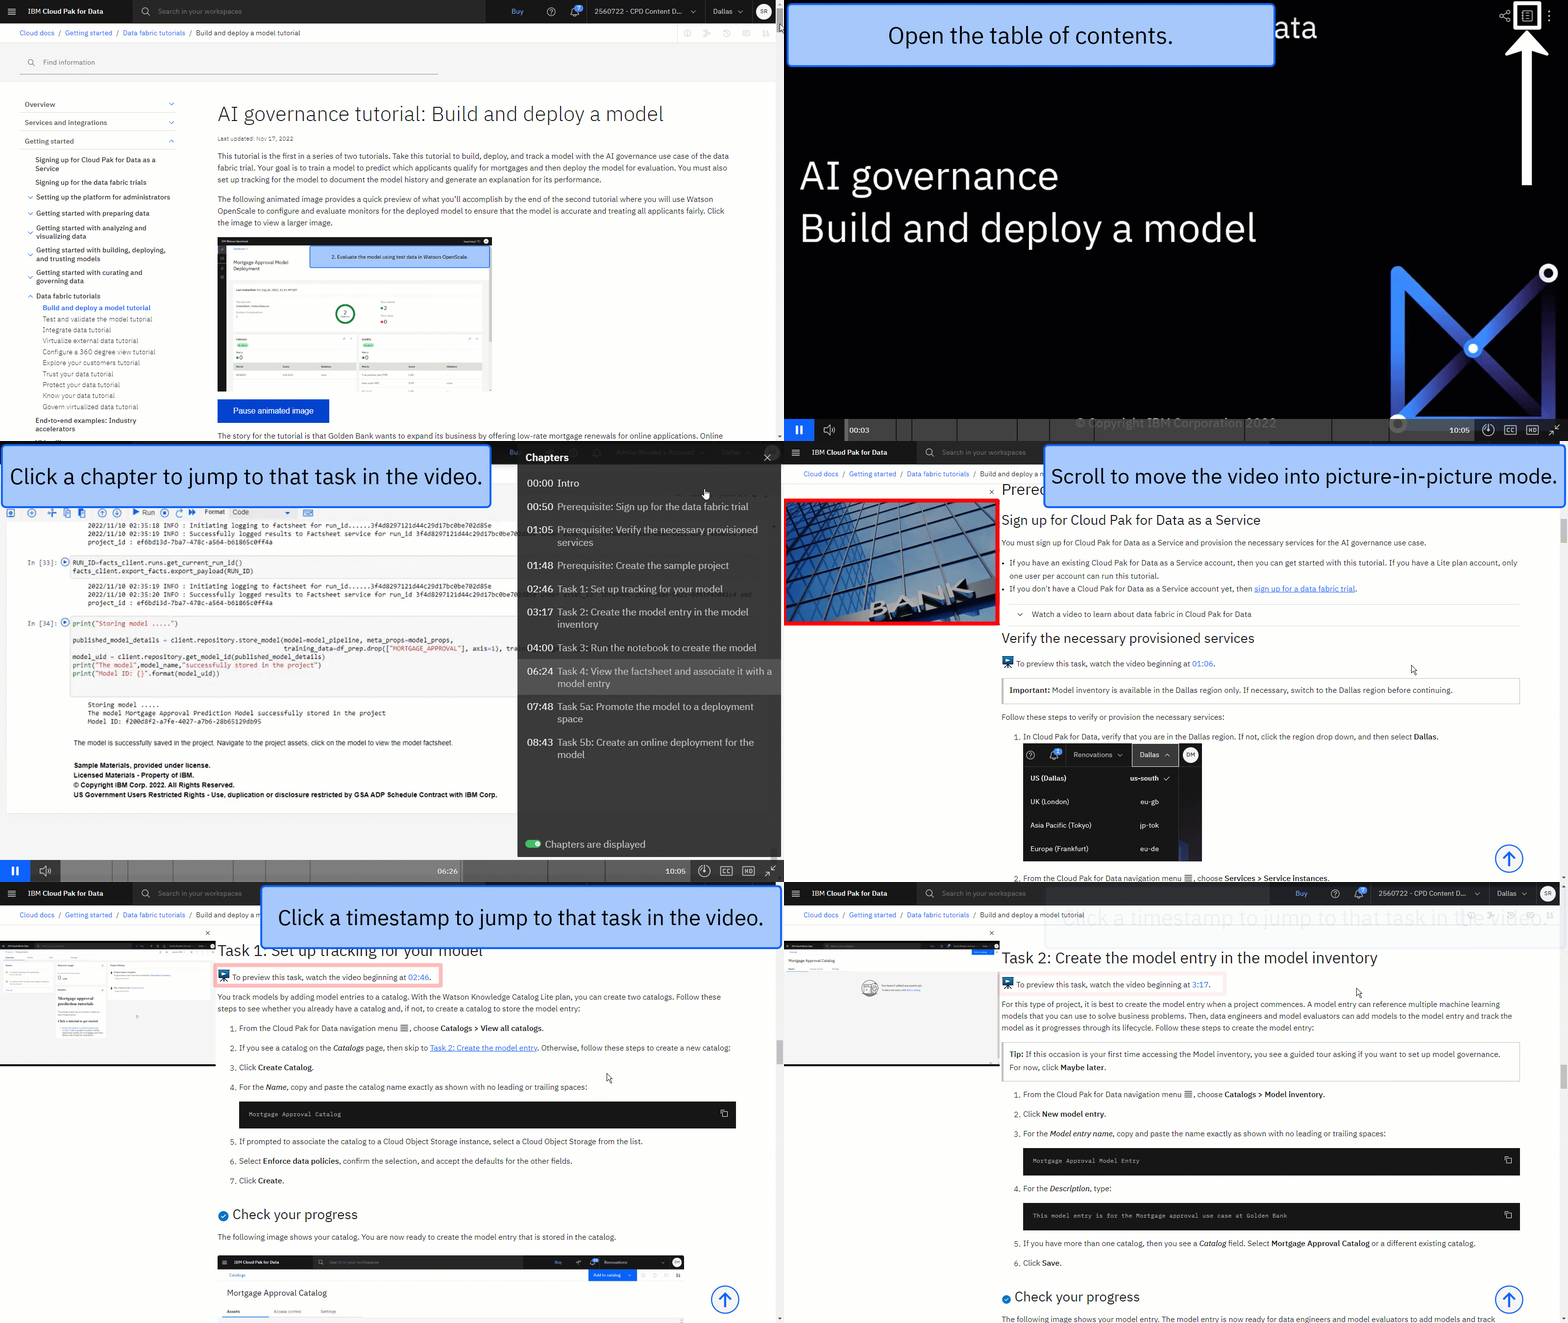
Use the video picture-in-picture
The following animated image shows how to use the video picture-in-picture and table of contents features:
Get help in the community
If you need help with this tutorial, you can ask a question or find an answer in the Cloud Pak for Data Community discussion forum.
Set up your browser windows
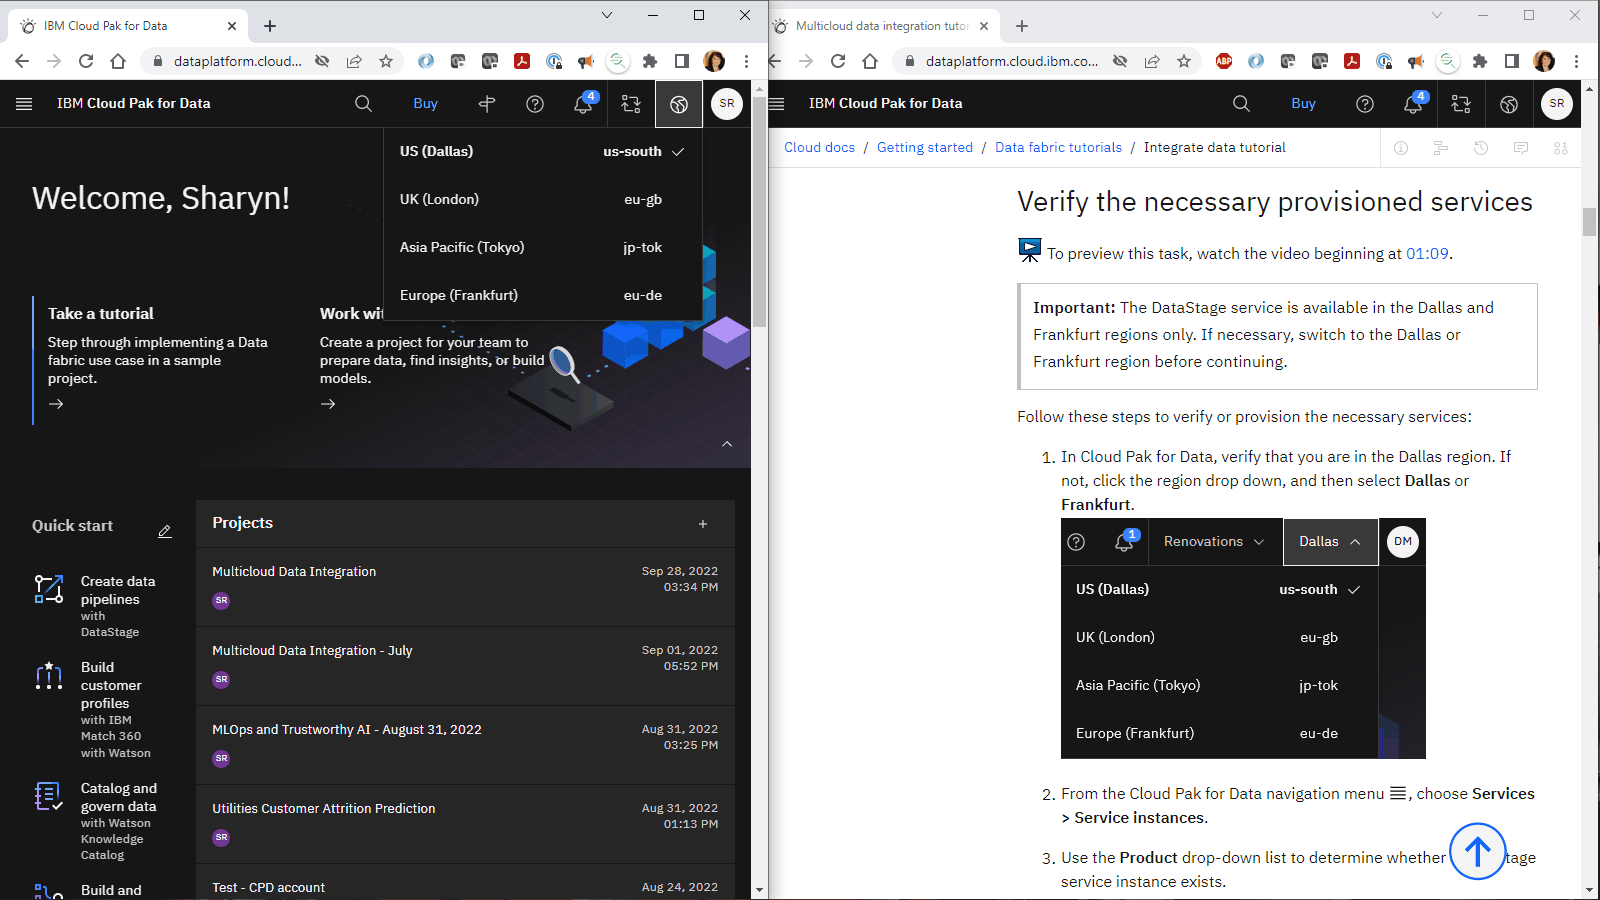
For the optimal experience completing this tutorial, open Cloud Pak for Data in one browser window, and keep this tutorial page open in another browser window to switch easily between the two applications. Consider arranging the two browser windows side-by-side to make it easier to follow along.
Task 1: Open a project
 To preview this task, watch the video beginning at 00:10.
You need a project to store the virtualized data. Follow these steps to open an existing project or create a new project.
-
From the Navigation Menu
, choose Projects > View all projects
-
If you have an existing project, open it.
-
If you don't have an existing project, then click New project.
-
Select Create an empty project.
-
Enter a name and optional description for the project.
-
Choose an existing object storage service instance or create a new one.
-
Click Create.
For more information or to watch a video, see Creating a project.
 Check your progress
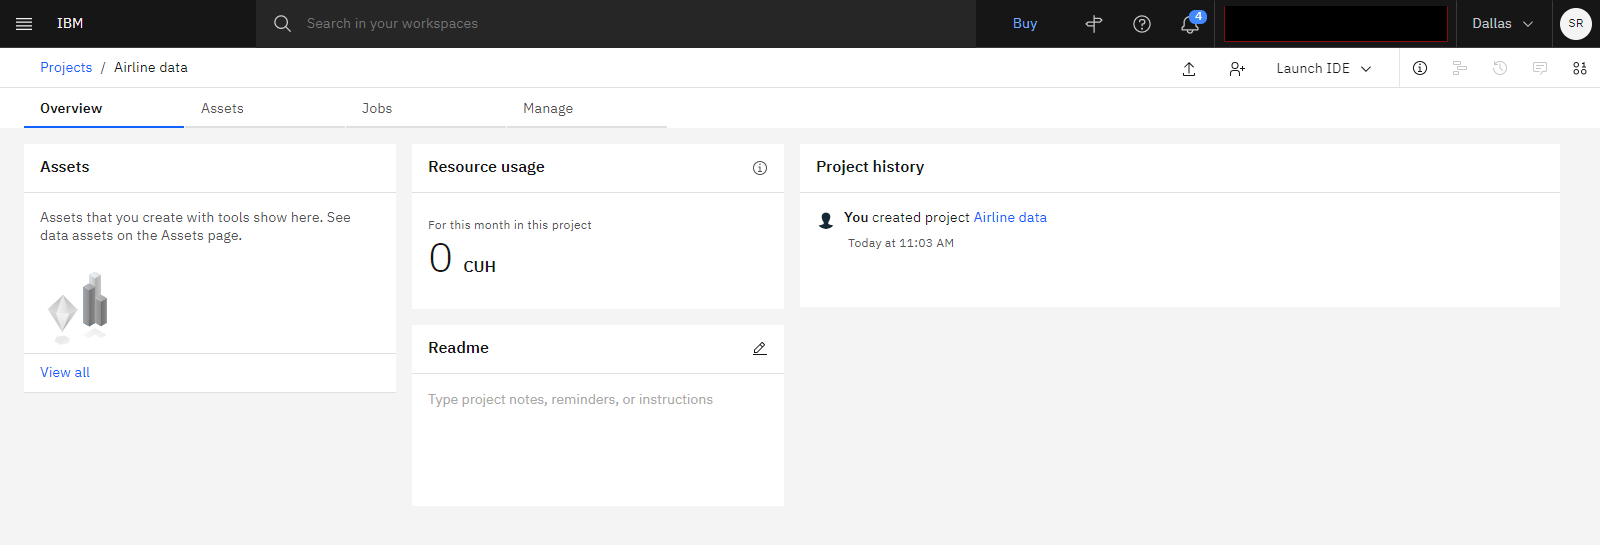
The following image shows a new, empty project.
Task 2: Provision the required services
 To preview this task, watch the video beginning at 00:32.
This tutorial requires the Data Virtualization service, and optional services watsonx.ai Studio and IBM Knowledge Catalog. Follow these steps to create these services:
-
From the Navigation Menu
, click Services > Service instances.
-
If you have a Data Virtualization service listed, then there is no need to provision another instance. Otherwise, follow these steps:
-
Click Add service.
-
Select Data Virtualization.
-
Select the Lite plan for Data Virtualization.
-
Click Create.
-
-
Verify that the services are provisioned on your Service instances page.
For more information, see Data Virtualization on Cloud Pak for Data as a Service.
 Check your progress
The following image shows the provisioned services.

Task 3: Add a connection to the Db2 Warehouse data source
 To preview this task, watch the video beginning at 00:58.
Before you can virtualize the data, you need create a connection to the data source. Follow these steps to create a connection in Data Virtualization:
-
From the Navigation Menu
, select Data > Data virtualization. The list of configured Data sources displays.
-
Click Add connection > New connection.
-
Select Db2 Warehouse on Cloud, and click Select.
-
Complete the connection details using the following information:
- Name:
Db2 Warehouse - Database:
BLUDB - Hostname or IP address:
db2w-ruggyab.us-south.db2w.cloud.ibm.com - Port:
50001 - Username:
CPDEMO - Password:
DataFabric@2022IBM - Select the Port is SSL-enabled checkbox.
- Name:
-
Click Test.
-
Click Create.
For more information, see Connecting to data sources in Data Virtualization.
 Check your progress
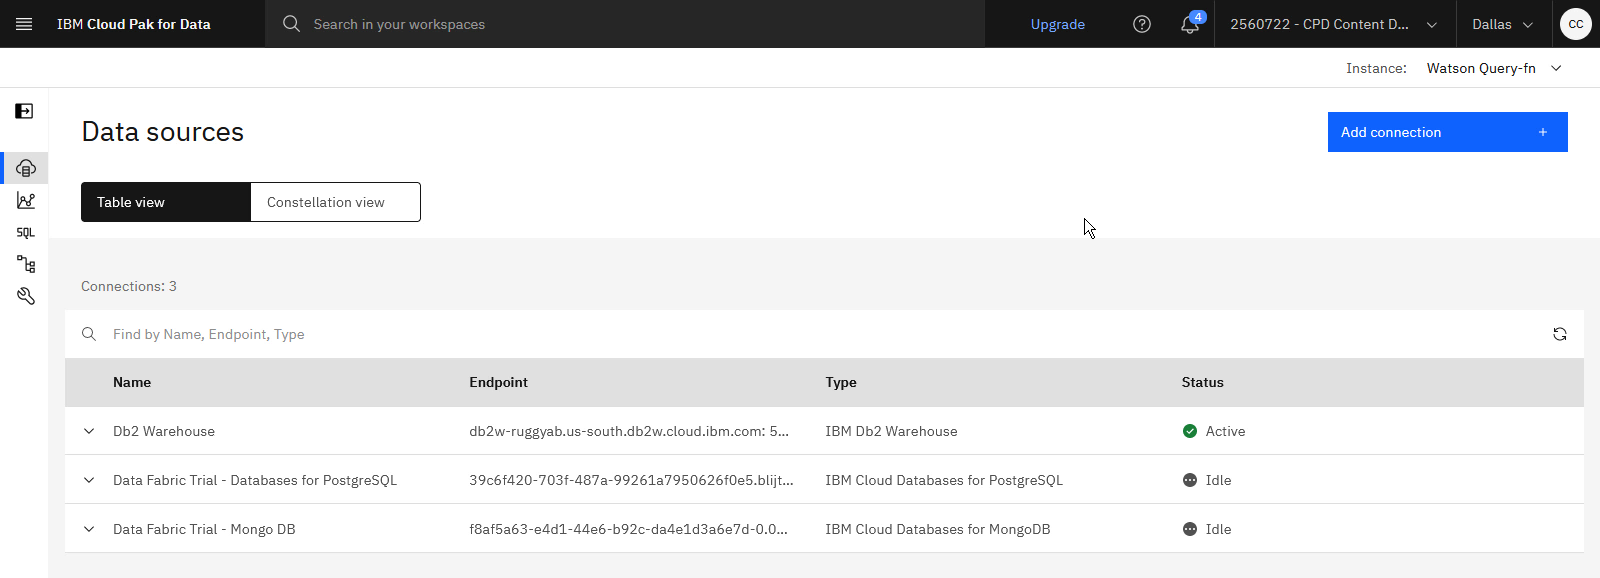
The following image shows the Data Sources page.
Task 4: Add tables to your virtualized data
 To preview this task, watch the video beginning at 01:45.
With the connection defined, you can virtualize data from that data source. Follow these steps to add the tables to your virtualized data.
-
From the Data Virtualization menu, select Virtualization > Virtualize, and wait for the available tables to load.
-
Locate and select the customers and sales tables from the list, and click Add to cart.
-
Click View cart.
-
Clear the Assign to project field. This will add the two tables to your list of virtualized data, but not add them to a project. Later, you will add virtualized data to your project.
-
Click Virtualize.
-
Click Confirm.
-
Click Go to virtualized data.
For more information, see Creating virtual objects in Data Virtualization.
 Check your progress
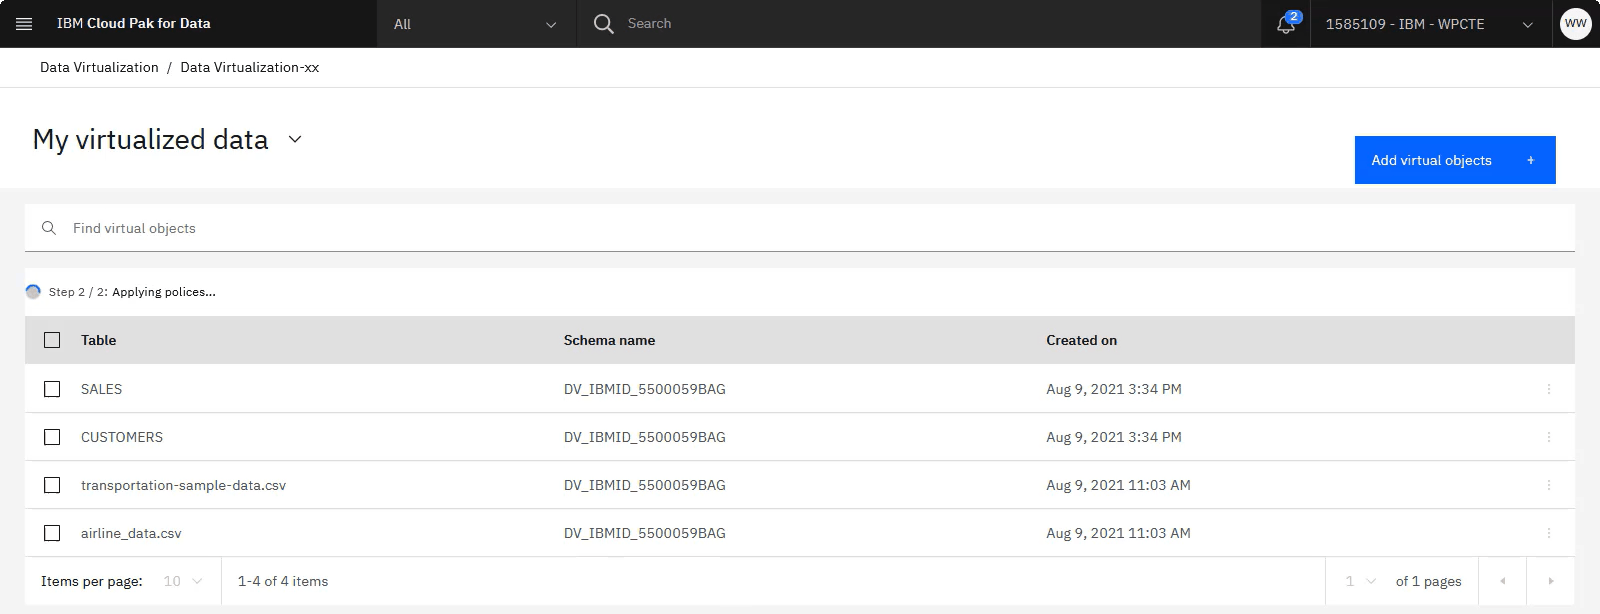
The following image shows the My virtualized data page.
Task 5: Publish virtualized data to a catalog and project
 To preview this task, watch the video beginning at 02:43.
Next, follow these steps to join two tables to create a virtualized asset and publish that to a catalog and project:
-
On the Virtualized data screen, select the customers and sales tables from the list, and click Join.
-
For each table, search for
salesrep. -
Connect the SALESREP_ID columns in the two tables.
-
Click Next.
-
Review the joined table, and click Next.
-
For the view name, type
joined_customers_sales_table. -
Select a project from the list.
-
Check the Publish to catalog option, and select a catalog.
-
Click Create view.
-
When the process completes, you can either view the project or the catalog to preview the virtualized data. You will need an IBM Cloud API key to view the data in the project or catalog. See Creating an IBM Cloud API key.
For more information, see Governing virtual data in Data Virtualization.
 Check your progress
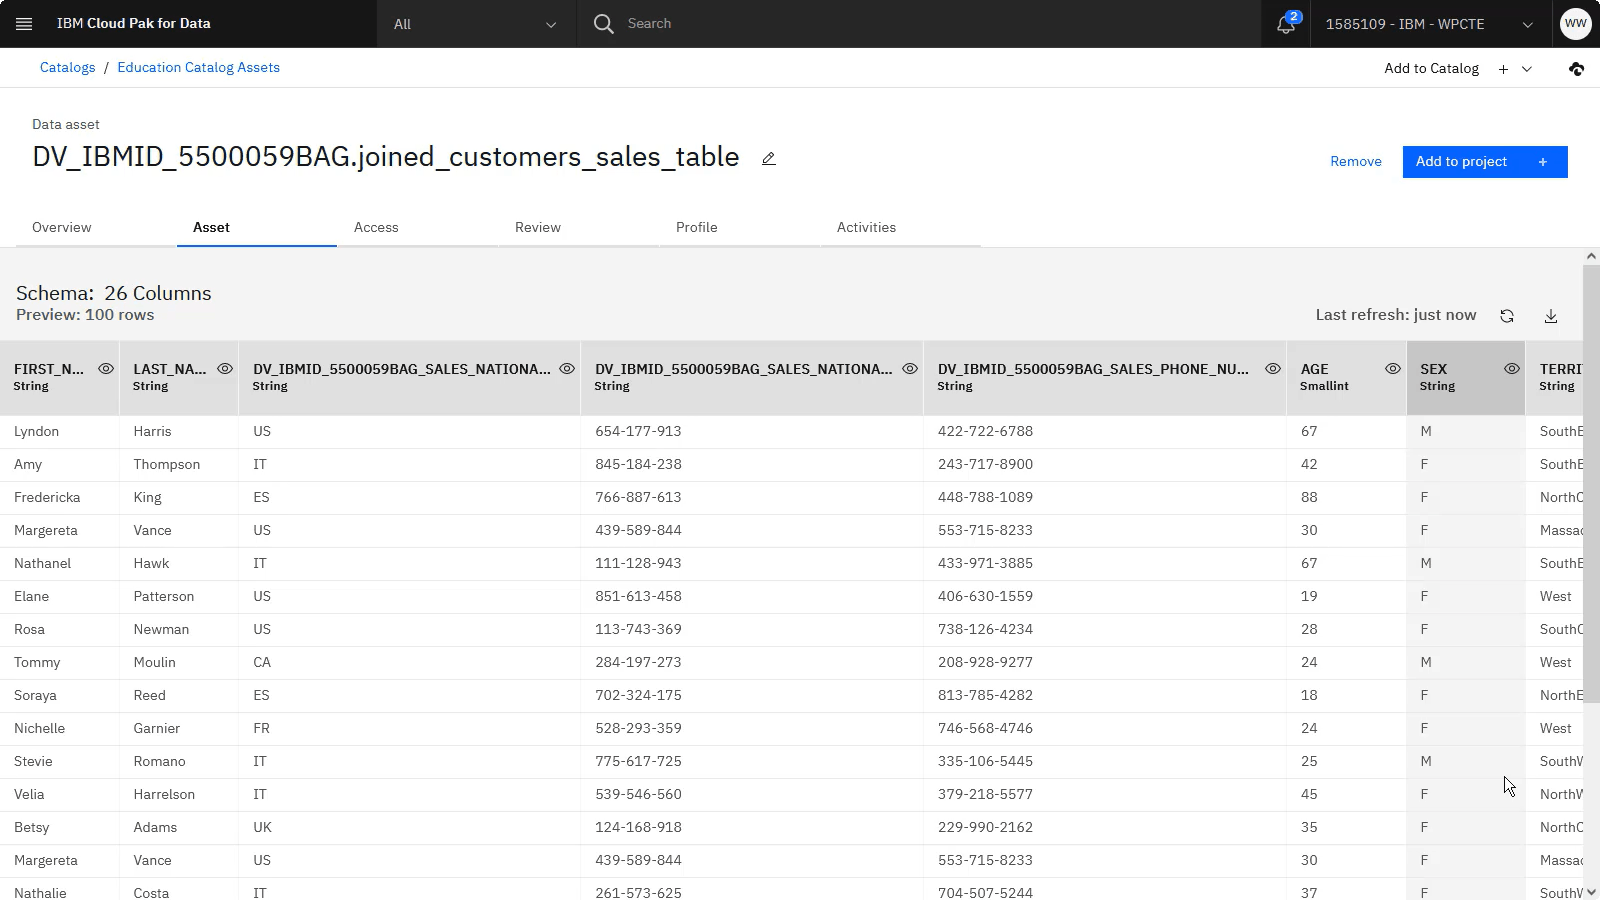
The following image shows the virtualized data asset in the catalog.
Next steps
Now your virtual data is ready to be used. For example, you can do any of these tasks:
Additional resources
-
View more videos.
-
Find sample data sets in the Resource hub.
-
Try this additional tutorial to get more hands-on experience with Data Virtualization: Data Virtualization on IBM Cloud Pak for Data
 .
.
Parent topic: Quick start tutorials